There are plenty of options for virtualization - VMWare Workstation, VirtualBox, Vagrant, Docker, etc - but for Windows 10, Hyper-V is arguably now the quickest to setup out of the box.
Hyper-V provides us a hypervisor-based virtualization technology so that we can create our own Virtual Machines (VM), and Hyper-V comes included with Windows Enterprise, Professional, or Education editions of Windows 8 and greater. There are some architectural differences between Hyper-V on Windows and Hyper-V on Windows Server, such as memory management, host/guest integrity and performance, but it will meet the needs for a simple lab environment.
Hyper-V has support for specific Windows, Linux and FreeBSD operating systems/distros. If you're planning to run Linux guest VMs, definitely take a look into the best practices.
Hyper-V Requirements
The chances are that if your system was manufactured within the last couple years and possesses at least 8GB of RAM - you will be able to run your Hyper-V lab with no problems. As for specific requirements:
- Windows 10 Enterprise, Professional, or Education
- 64-bit Processor with Second Level Address Translation (SLAT)
- CPU support for VM Monitor Mode Extension (VC-c on Intel CPU)
You can read more about the Windows 10 Hyper-V System Requirements here.
Enable Hyper-V using PowerShell
Hyper-V is not enabled by default, so we will first enable the feature through PowerShell. You will need to run PowerShell as Administrator.
Enable-WindowsOptionalFeature -Online -FeatureName Microsoft-Hyper-V -All
The host system will require a reboot after the Hyper-V has completed its installation.
Managing your Hyper-V host/guests
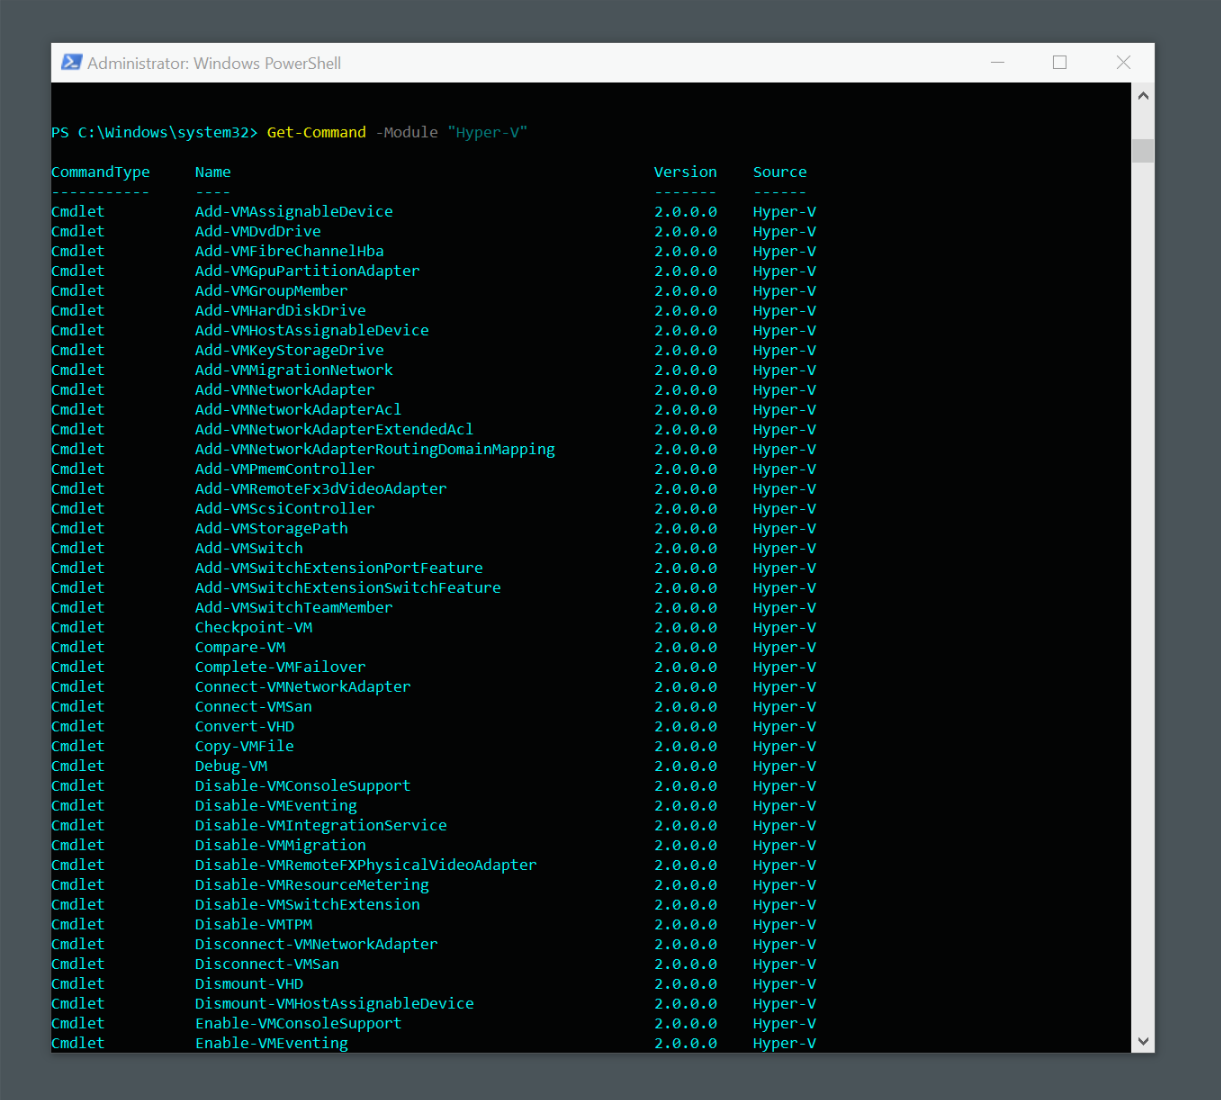
Hyper-V has an extensive PowerShell module that should be added with the feature. Documentation for the module is available here, but PowerShell itself can give you plenty to work with.
Get-Command -Module "Hyper-V"

You can also manage Hyper-V through the Hyper-V Manager console. It is accessible by executing virtmgmt.msc in PowerShell.
Have fun with your new Hyper-V lab. :)

